

Contouring is the art of enhancing and defining your facial features using makeup. It allows you to sculpt your face and create a more refined appearance by playing with light and shadow. The key to effective contouring lies in understanding your face shape and applying products accordingly to highlight your best features while minimizing those you might wish to downplay. In this article, we’ll explore the different face shapes, the tools and products needed, and step-by-step techniques to contour based on your unique facial structure.
Understanding Face Shapes
Before diving into the contouring techniques, it’s essential to identify your face shape. The major face shapes include oval, round, square, heart, and diamond. Each shape requires a different contouring approach to accentuate your features effectively. For example, an oval face shape can benefit from a subtle contouring effect, while a round face shape may require more pronounced shading along the sides to create the illusion of length. Understanding these nuances will help you achieve a more polished look. Consider the following key characteristics when identifying your face shape:
- Oval: The length of your face is greater than the width, and your jawline is softly rounded.
- Round: The width and length of your face are nearly equal, with a full cheek area and a rounded jawline.
- Square: Your forehead and jawline are similar in width, creating a sharp, angular appearance.
- Heart: Wider forehead with a narrower chin, typically forming a triangle shape.
- Diamond: Characterized by a narrow forehead and jawline with wider cheekbones.
Tools and Products You Need
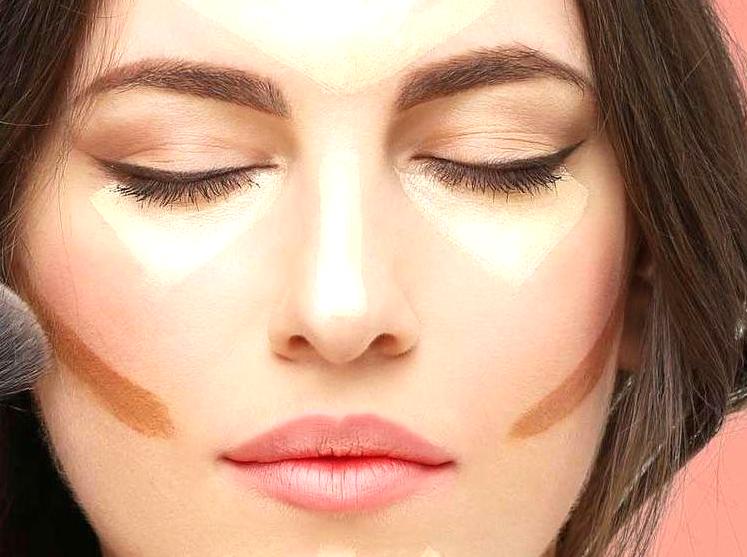
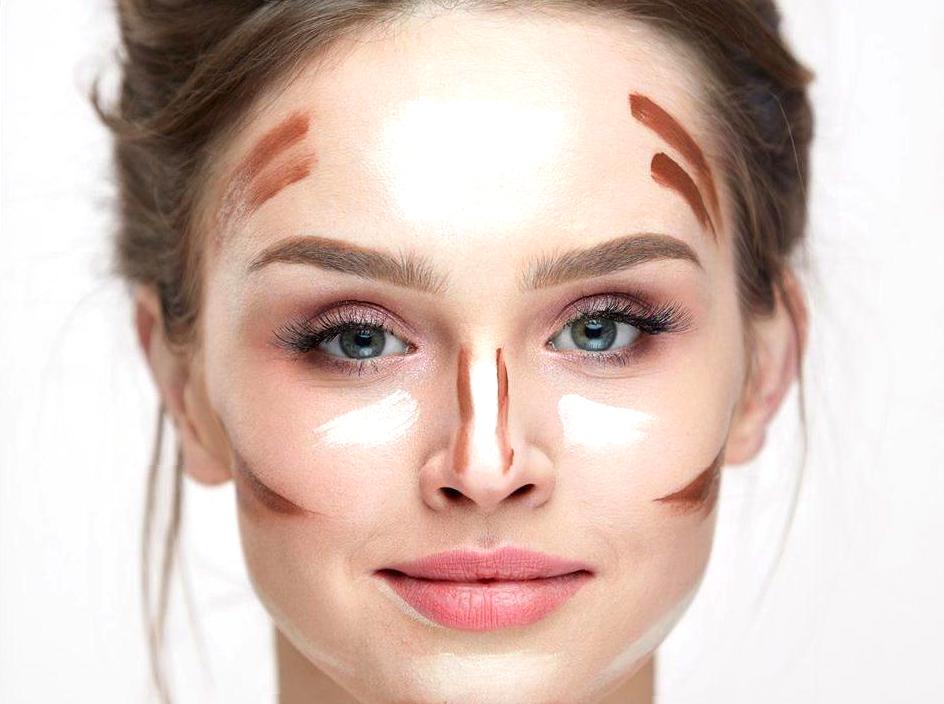
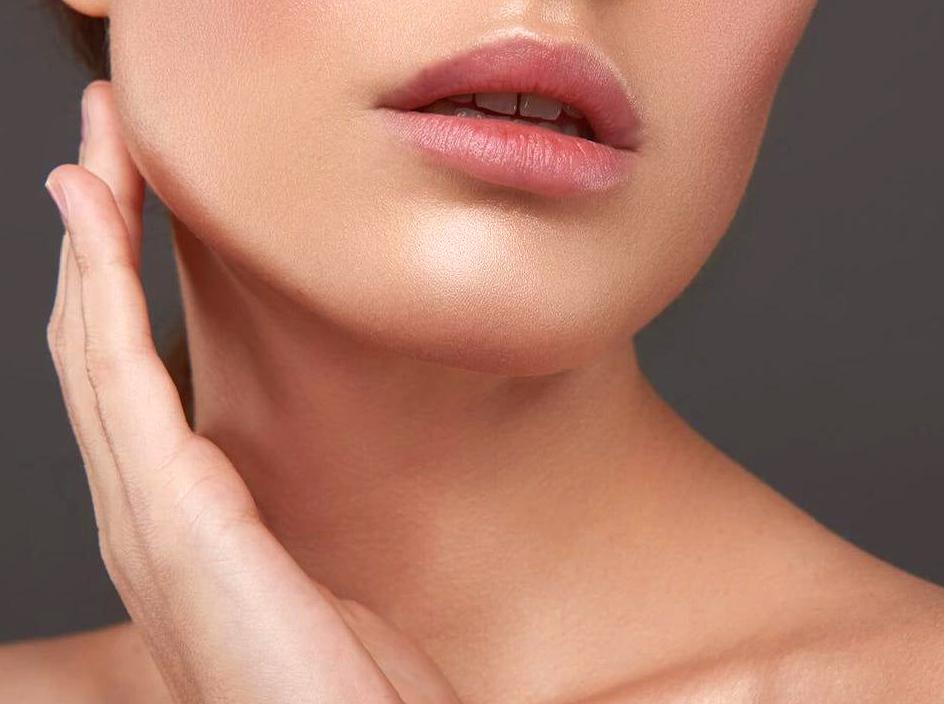
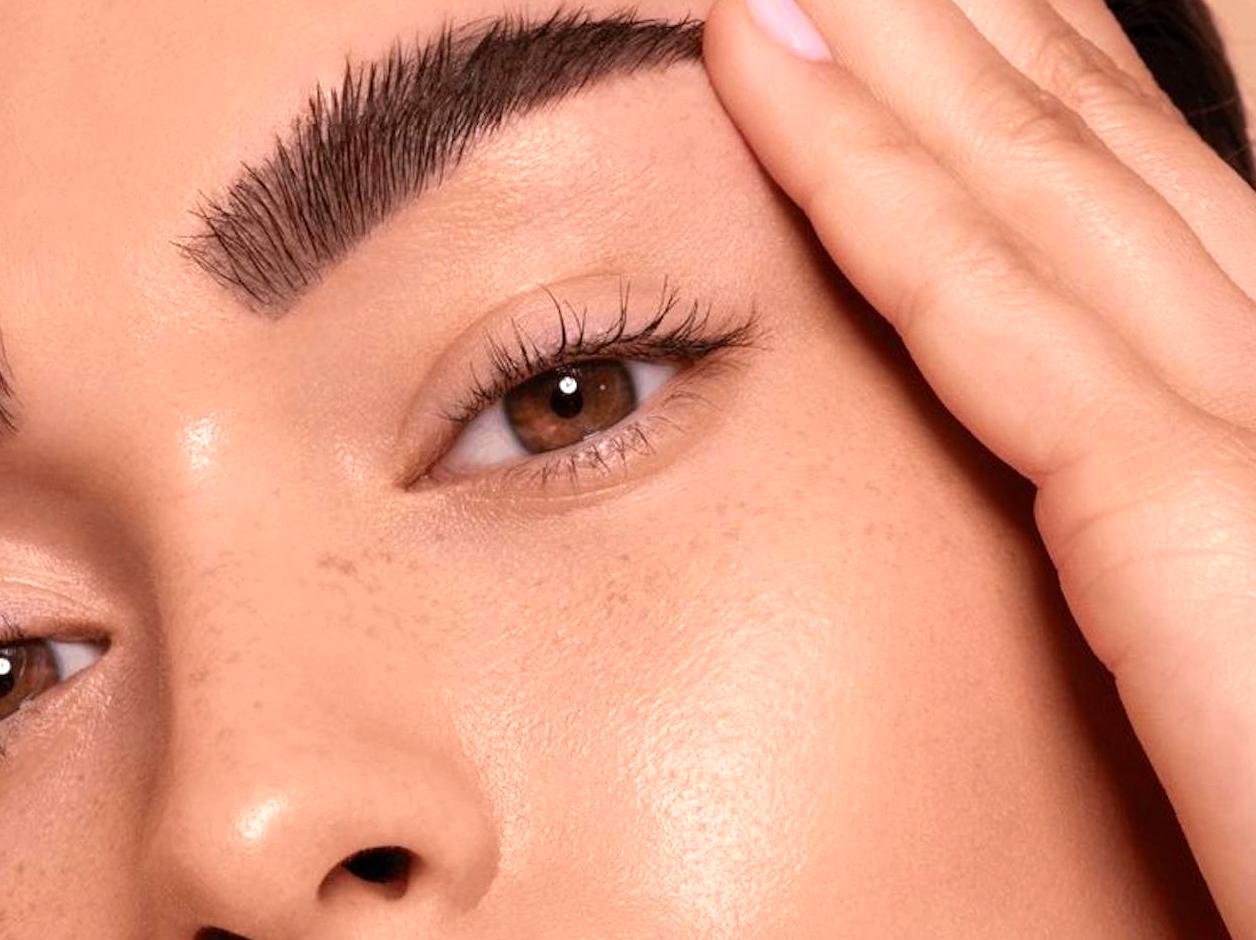
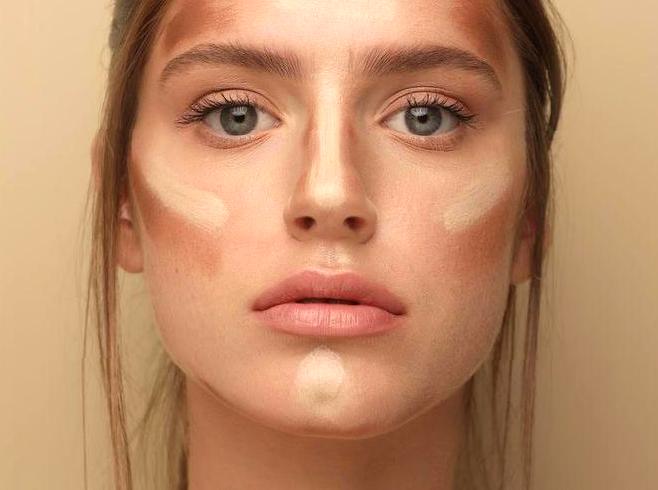
To achieve the perfect contour, you need the right tools and products. Start with a good quality foundation that matches your skin tone, as this will serve as the base. Next, you need a contour product that’s a few shades darker than your foundation—this could be a cream, powder, or stick contour. Additionally, a highlighter is essential to bring light to the high points of your face. Some other tools to consider include makeup brushes, a beauty sponge, and a bronzer for added warmth. Having these products ready will help streamline your process and ensure a flawless finish.
Step-by-Step Contouring Techniques
Once you’ve identified your face shape and gathered your materials, it’s time to start contouring. Here’s a general guideline to follow based on your face shape:
For Round Faces:
Focus on contouring the sides of your forehead, under your cheekbones, and around the jawline to create the illusion of length. Apply the contour product along your hairline and down the sides of your face, blending well for a seamless finish. An optional step is to highlight the center of your forehead, the bridge of your nose, and your chin for balance.
For Square Faces:
To soften the angular features, contour around your forehead and along your jawline. Highlighting the center of your forehead, above the brows, and on the chin will add softness to the look. It’s essential to blend thoroughly to avoid harsh lines that might emphasize squareness.
For Oval Faces:
A little contouring under the cheekbones and along either side of the nose is all you need. Highlight above the cheekbones and on the forehead for a fresh, youthful appearance. The oval face shape requires less contouring compared to others, as it is naturally balanced.
For Heart-Shaped Faces:
Contour your forehead and the sides of your chin to balance the width of the forehead. Highlighting the apple of your cheeks and the tip of your chin will also help create a more harmonious look. Blending is crucial here, so be sure to use a gentle hand.
For Diamond Faces:
For this shape, contouring the sides of your forehead and under the cheekbones can add balance. Highlight the chin and the center of the forehead to soften the angles of the diamond shape, ensuring that the look remains polished and natural.
Conclusion
Contouring is a powerful technique that can transform your look by enhancing your natural beauty. By understanding your face shape and applying the right techniques, you can achieve a sculpted appearance that highlights your best features. Remember to blend well for a seamless finish and practice makes perfect; don’t hesitate to experiment to find what works best for you. With patience and the right tools, contouring can become an effortless part of your makeup routine.
FAQs
Yes, bronzer can be used for a soft contour; however, using a specific contour product will provide more definition and depth.
2. Is cream or powder contour better?
It depends on your skin type. Cream contours work well for dry skin, while powders are excellent for oily skin. Experiment to see what you prefer.
3. How do I blend my contour for a natural look?
Use a damp beauty sponge or a brush in gentle, circular motions to blend the contour into your foundation for a natural finish.
4. Can I contour every day?
While contouring can enhance your look, daily contouring may not be necessary. Use it for special occasions or when you want more definition in your makeup.
5. What if I make a mistake while contouring?
If you make a mistake, you can use makeup remover or a concealer that matches your skin tone to correct the areas and blend them again.